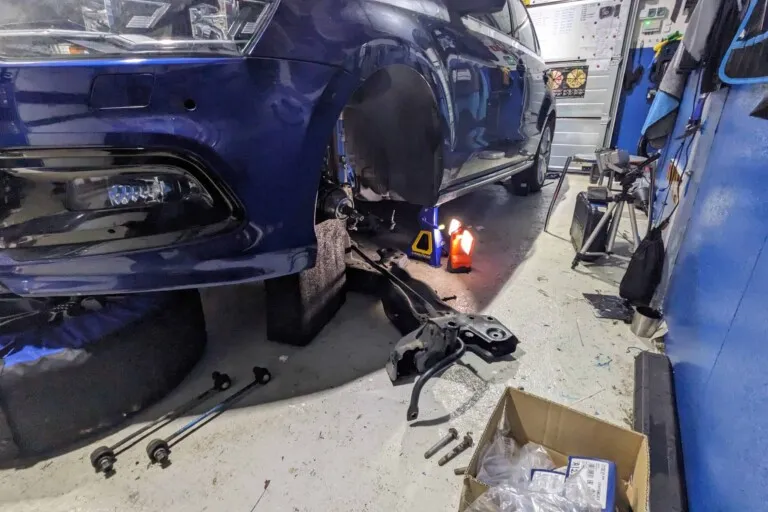
My old control arm bushings were in a deplorable state, the workshop that was supposed to replace them didn’t do so, so I decided to tackle it myself. I used a tool WAR 231 from MARK-MOTO to disassemble them.
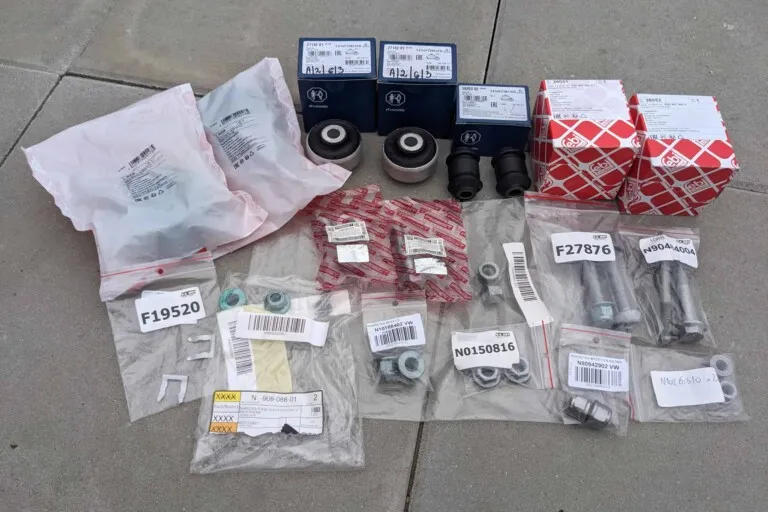
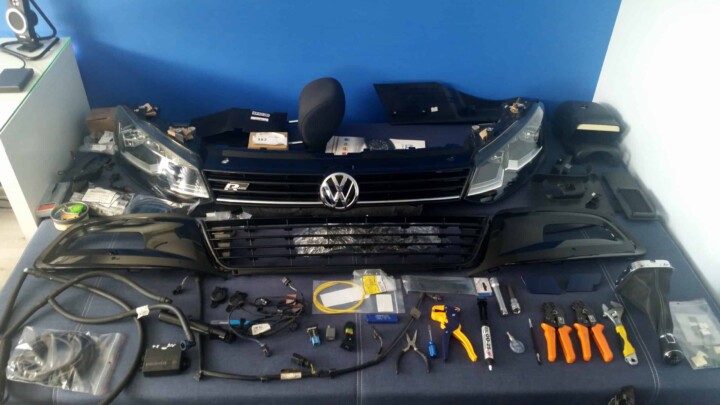
A list of the parts needed can be found here.
Factory control arm bushings after 77K km mileage:
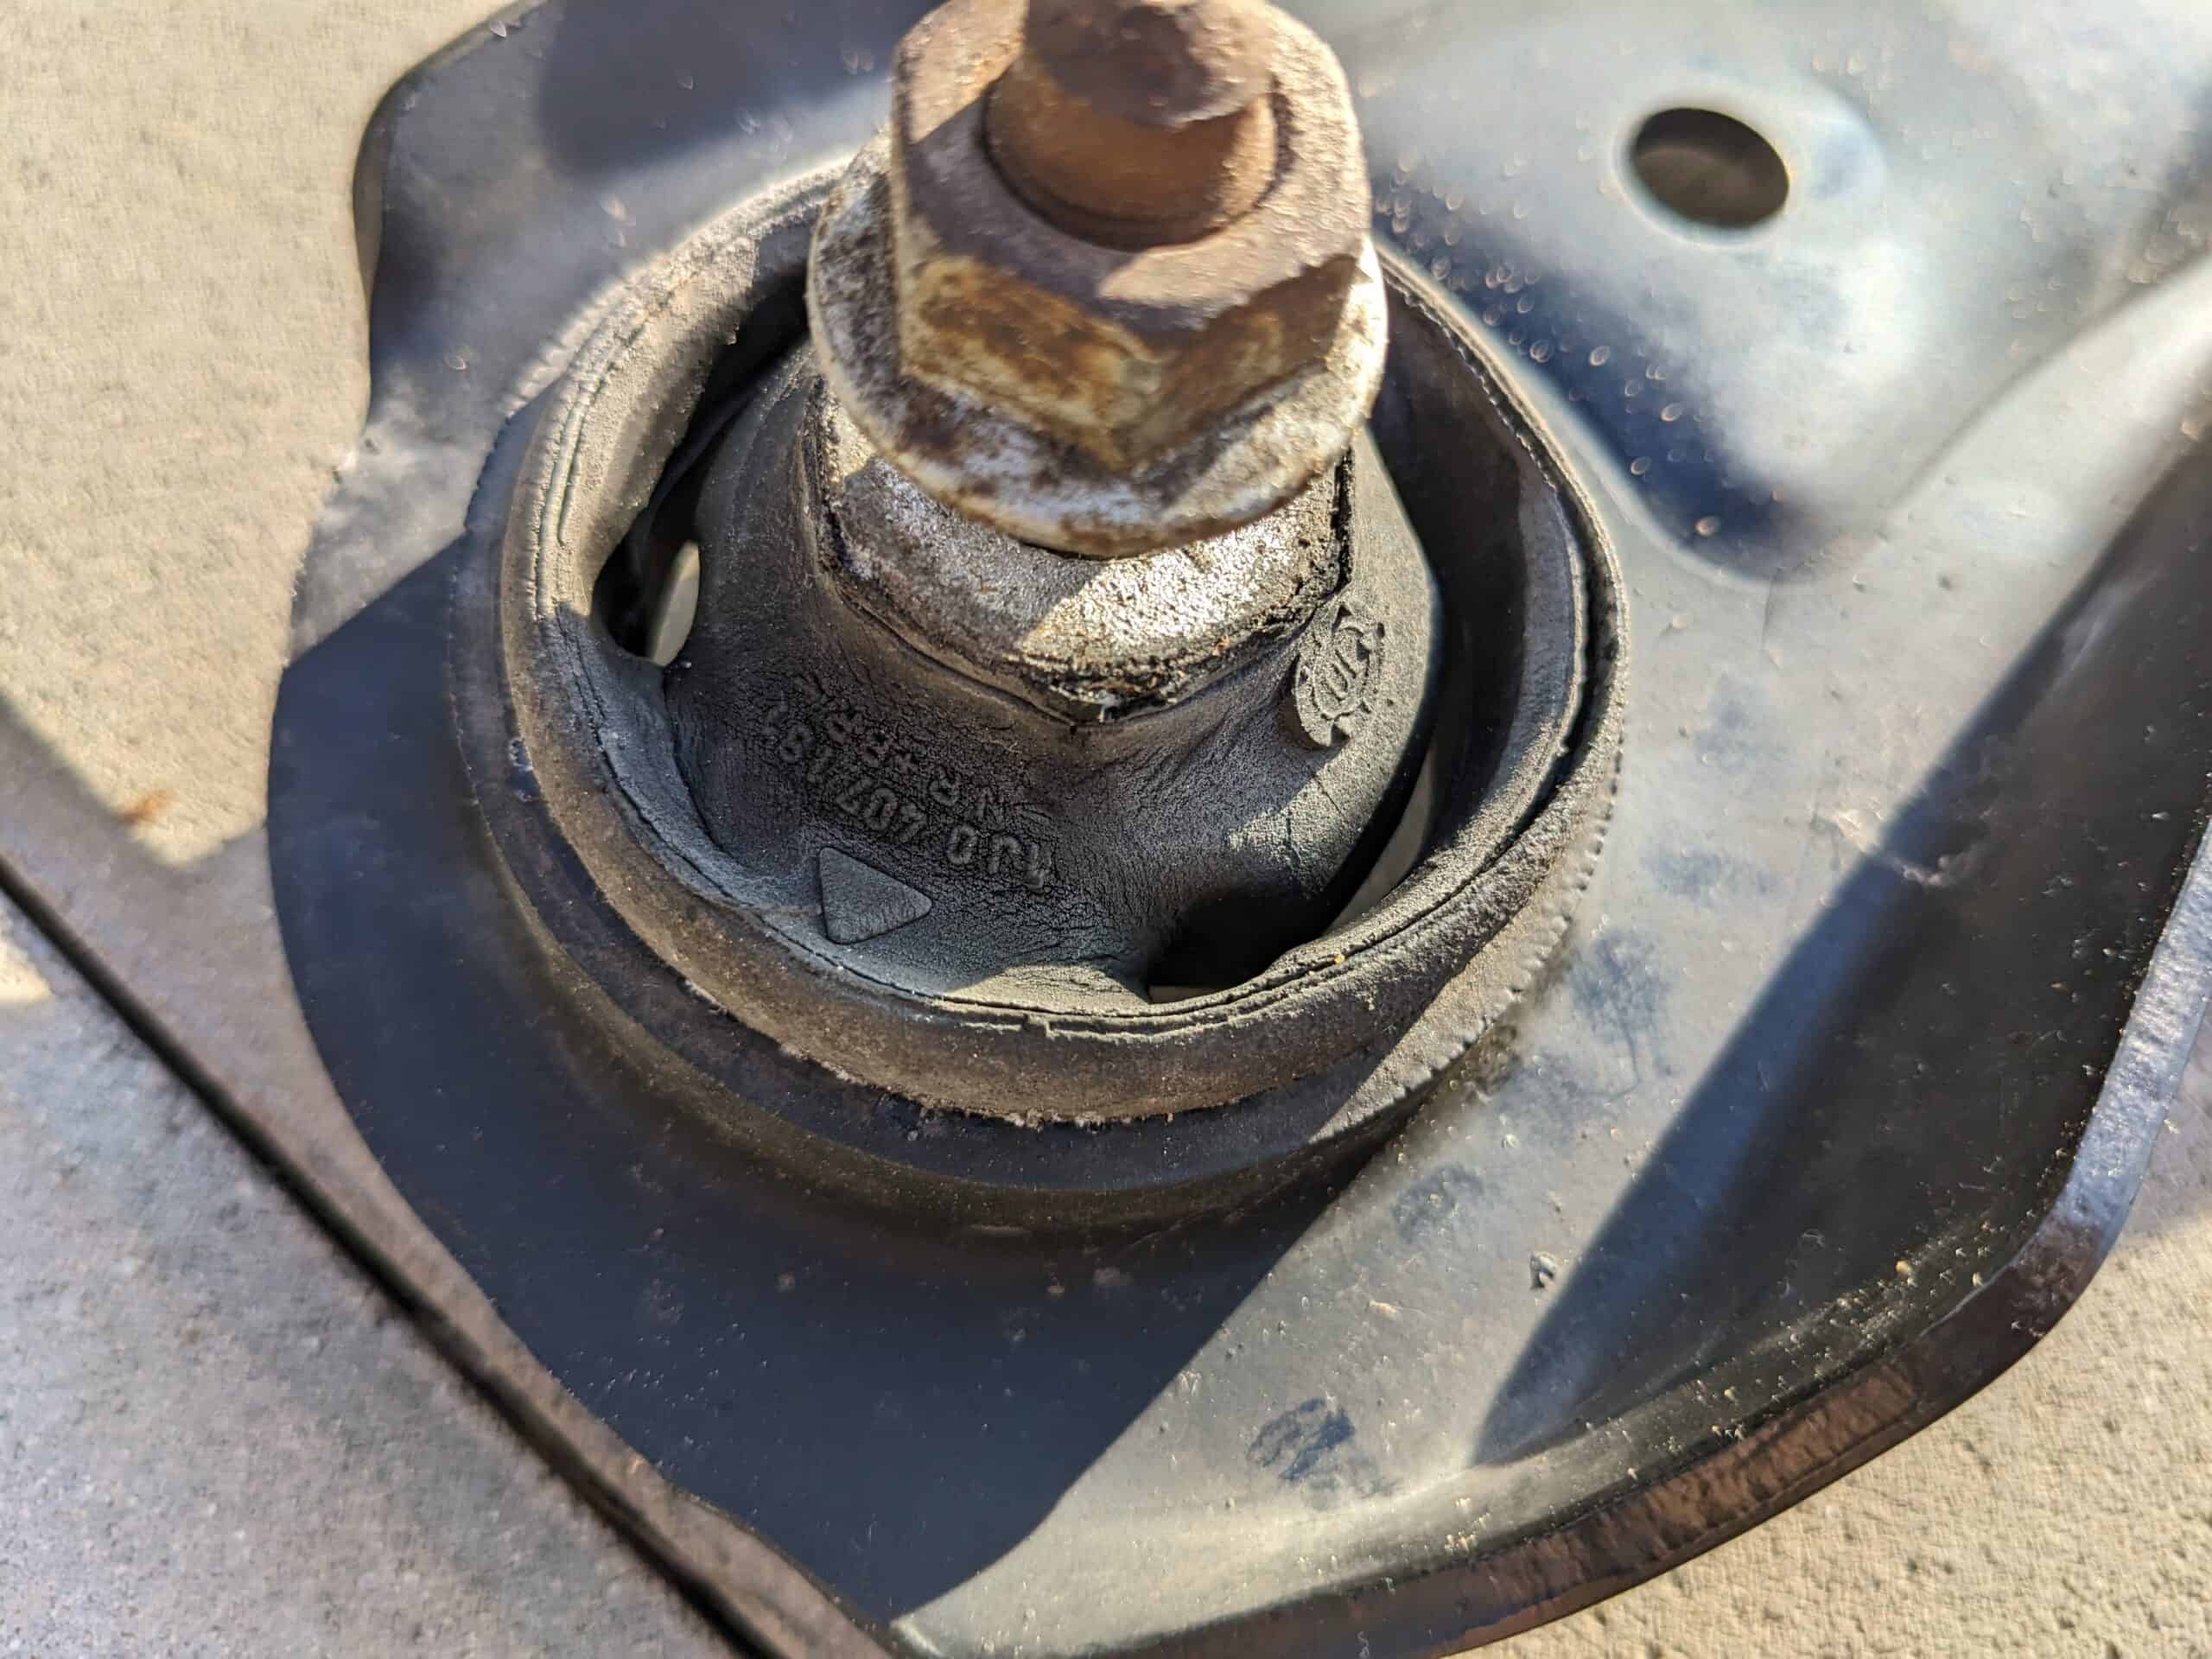


Such worn bushings are definitely not suitable for the KW V3 thread, unfortunately the workshop that was supposed to replace them didn’t embrace this:
If anyone wishes to install standard bushings (with a holes) in the future, care must be taken to ensure correct installation, where the arrow on the rubber of the bushing should coincide with the marking on the control arm (two notches):


If you have aftermarket control arms without markings, the arrow should point towards the other rubber bushing.
With solid bushings from Audi, there is no such problem.
I smeared the screw threads with machinist’s grease:


For the second bushing, MARK-MOTO didn’t provide any kit, so I had to improvise. I used a screw from an extractor, and instead of a bushing I used an old socket spanner and a piece of chrome tubing from a kitchen table leg 🙂
I had to nail the tube down a bit with a hammer to reduce its diameter, because it was overlapping the rocker arm….


The tube from the table leg didn’t look too good, plus I didn’t want it to cut into the control arms after painting, so I decided to create a new bushing along the lines of the one from VAS. I measured the new bushing and the rest of the job was taken care of by my cousin.


After a few days, the sleeve (⌀37 mm) was ready:


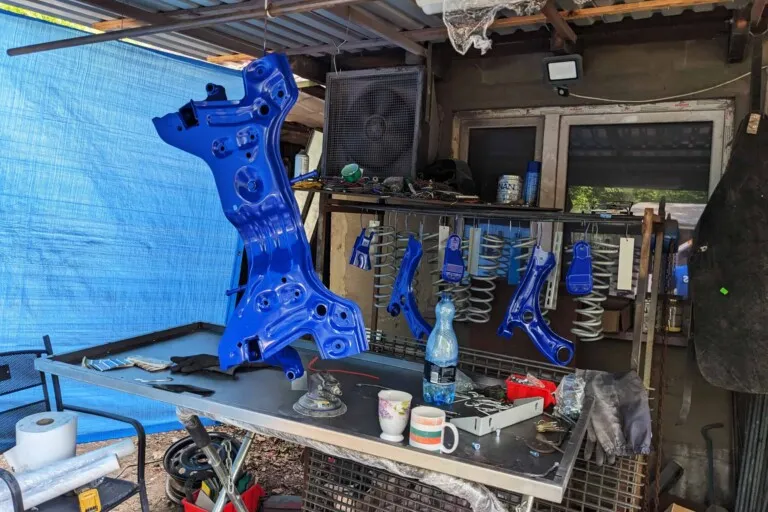
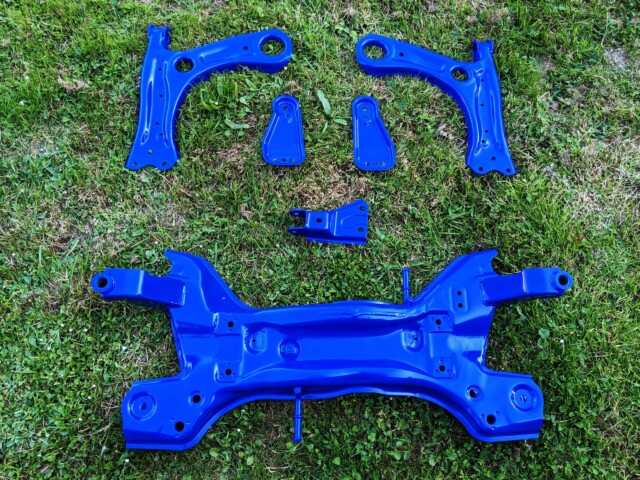
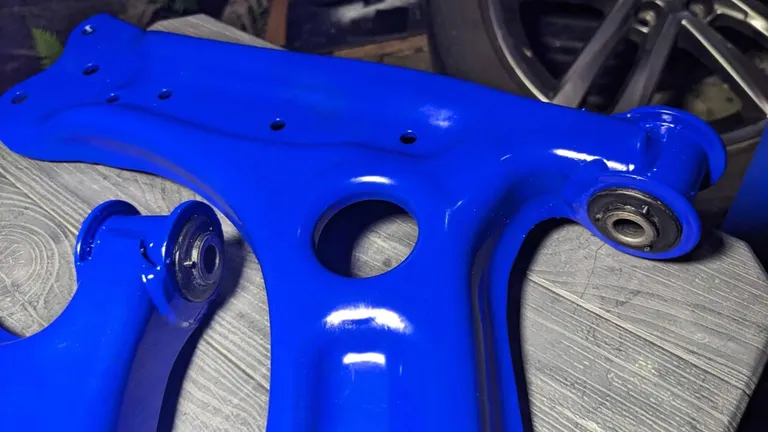
And now it’s time to install the new bushings in the blue painted control arms:


When putting the bushings in, I did it more or less as it was before – looking at the pictures of the factory fitted ones.
Now it’s time to insert the front bushings – using the new metal bushing:


I used some washers from Castorama for pressing:


Generally when someone doesn’t have a hydraulic press the key to a smooth replacement is a suitably hard bolt whose threads don’t crumble after the first extrusion. As for lubricating the rubbers on the internet I found many different options, some use soap or dish liquid for lubrication, some use a grease that doesn’t damage the rubber. I didn’t have anything else to hand, so I used a blue tube of brake piston cylinder paste – it lubricates well and, according to the specifications, is suitable for rubber.


When pressing the rear bushings in, the edges of the control arms scratched slightly, but I have a solution for this:


Everything will be protected so that rust does not appear too quickly 🙂