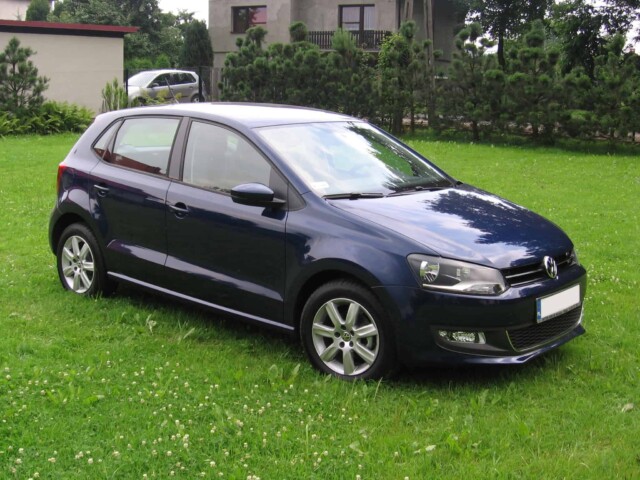
How to remove dashboard from a Polo 6R

- Release gearstick boot or gear shift cover from mountings
- Remove hand brake lever trim
- Remove hand brake cover cap
- Remove dash panel middle trims
- Remove centre console cover
- Remove rear cup holder (in vehicles with arm rest)
- Remove arm rest (if fitted)
- Remove centre console
- Remove driver airbag unit
- Remove steering wheel
- Remove steering column trim
- Remove steering column switch
- Remove dash panel insert
- Remove light switch -E1-
- Removing fuse box cover
- Remove dash panel end trim
- Remove glove compartment
- Remove front passenger airbag unit
- Remove telephone bracket (if fitted)
- Remove radio or radio/navigation system
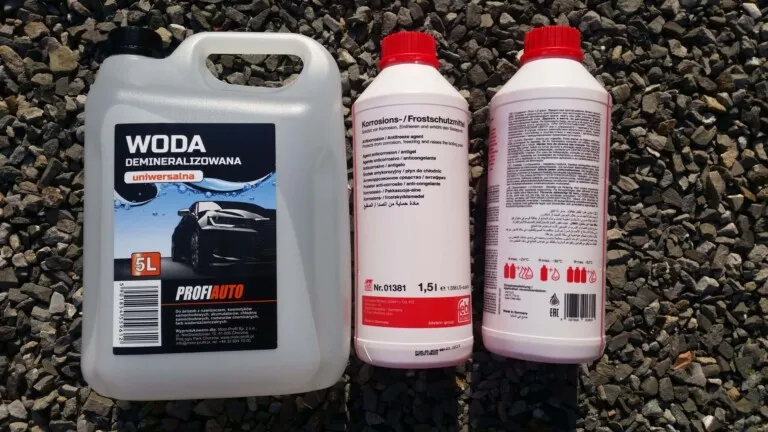
Air conditioning system with manual regulation „Climatic“
Air conditioning system with automatic regulation „Climatronic“
- Remove operating and display unit for Climatronic air conditioning system -E87- with Climatronic control unit -J255-
- Remove sunlight penetration photosensor -G107- or sunlight penetration photosensor 2 -G134-
- Disconnect wiring harnesses from left vent temperature sender -G150- and right vent temperature sender -G151-
Vehicles without air conditioning system
- Remove hot air and fresh air controls
All vehicles
- Remove centre dash panel storage compartment in vehicles without radio or radio/navigation system
- Remove centre dash panel storage compartment
- Remove upper A-pillar trims
- Remove fuse holder on left under dash panel
- Remove left footwell light -W9- and right footwell light -W10-
- Unclip diagnosis connector in footwell on driver side.
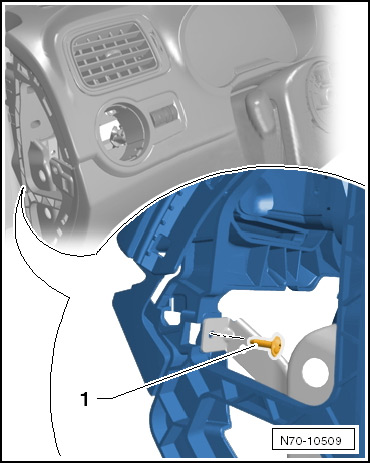
- Pull connectors off switches -1- depending on vehicle equipment

- Remove bolt -1- (1.5 Nm)

- Remove bolt -1- (1.5 Nm).

- Remove bolt -1- (1.5 Nm).

- Remove bolt -1- (1.5 Nm).
- Remove bolt -1- (1.5 Nm).

- Remove bolt -1- (1.5 Nm).

- Remove bolt -1- (1.5 Nm).

- Remove bolt -1- (1.5 Nm).
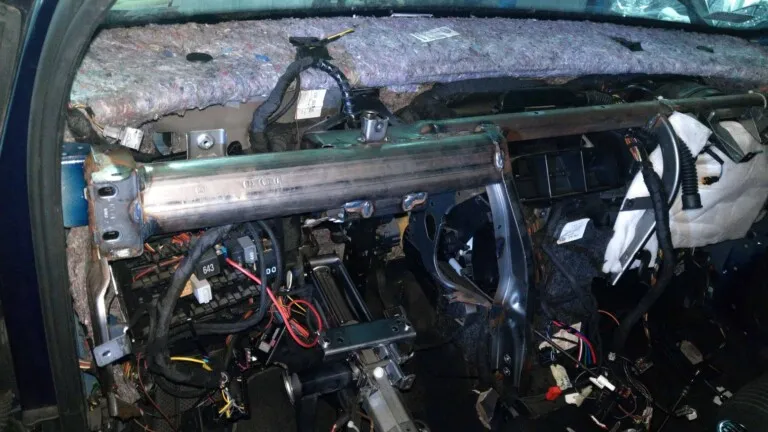
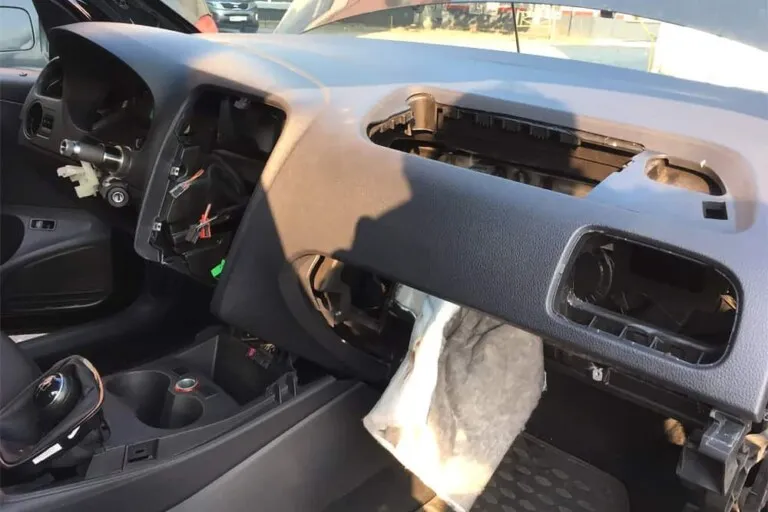
- Pull dash panel out of mountings in area of transition to windscreen.

- Press locking hooks -arrows- together and slide headlight range control regulator -E102- and switch and instrument illumination regulator -E20–1- out of dash panel in direction of travel.
- Detach cable retainer of left footwell light -W10- from dash panel.

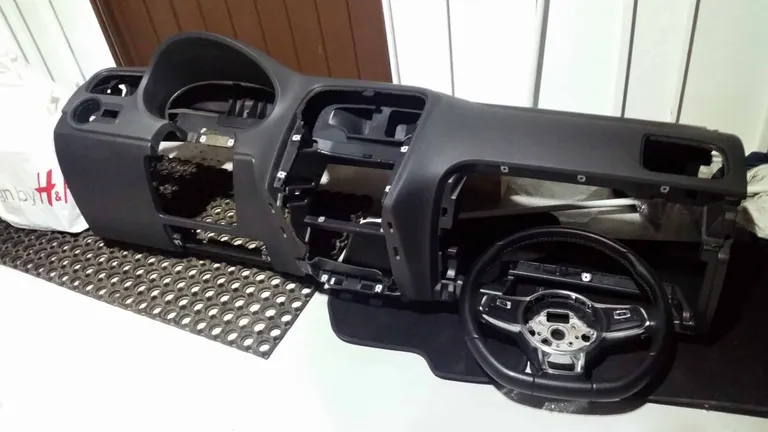
- Remove dash panel -1- from vehicle with the aid of a second mechanic.

Installing
- Install in reverse order of removal.
Note
If the dash panel is being fitted in the vehicle, ensure the fuse holder is installed in the correct position.
Useful spare parts

3 – N90698703 (N 906 987 03) – speed nut (4,2x16x12)
11 – N91079301 (N 910 793 01) – hex collared bolt (M8X16)
22 – N90698801 (N 906 988 01) – speed nut (4,2x16x12)
23 – 1K0867388A (1K0 867 388 A) – clip
27 – N90698606 (N 906 986 06) – hexagon socket head panel bolt (4,2×16)


13 – N90698606 (N 906 986 06) – hexagon socket head panel bolt (4,2×16)
21 – N90944603 (N 909 446 03) – oval hexagon socket head bolt (M5x12)
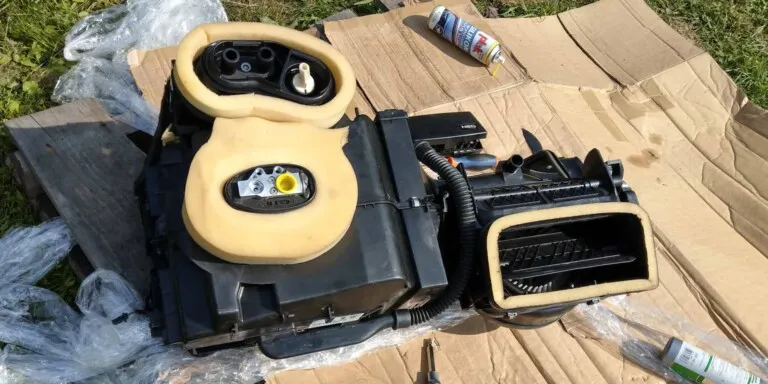
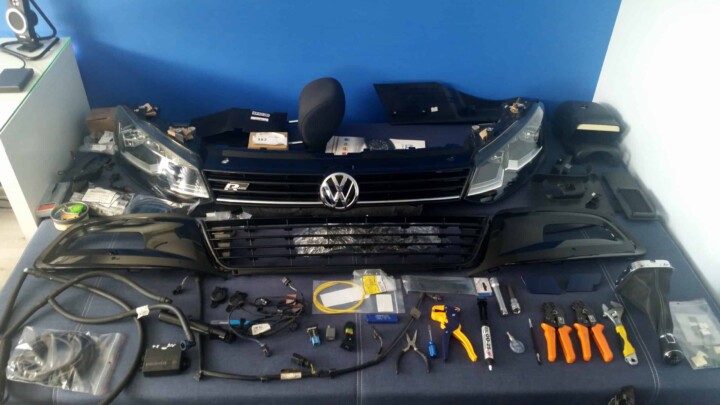
Photos


I realize that the quality of some of the photos isn’t very good, but some of them I did inside the garage, using a bicycle light to illuminate the interior ;-P Nevertheless, they may be useful to someone… Maybe for me, next time…

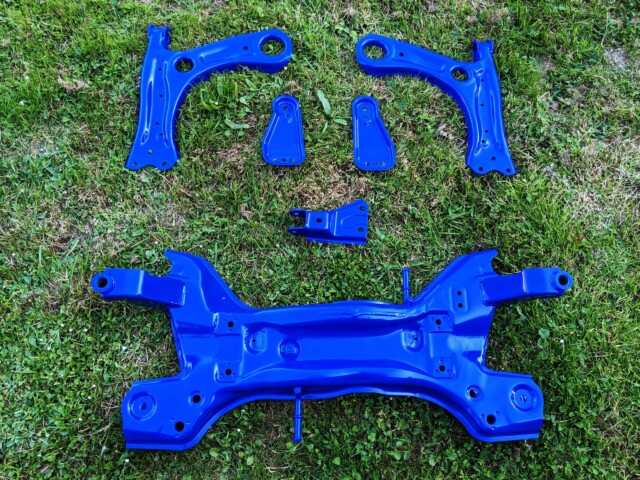
My garage is tin, so in summer there is very warm – that’s why I did some work outside 😉
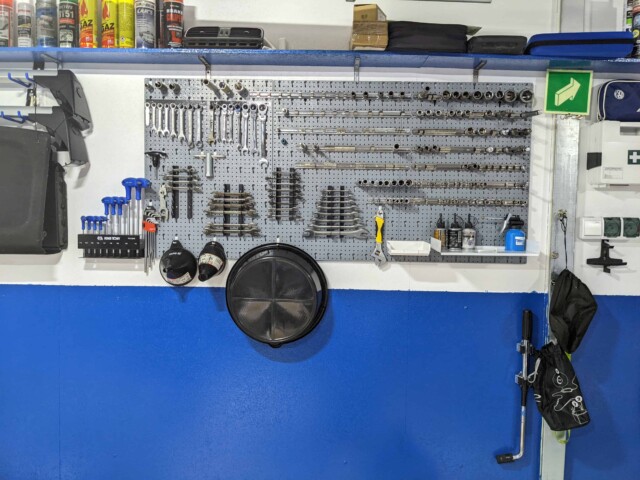
In addition, we need quite a lot of space to pull out the dashboard. My garage is very small, and I have shelves on one side, so it was impossible to do some of work inside 😛


Video
Remove dashboard in RHD Polo:
You can watch this video in the mirror ^_^ for LHD.
Please, do it more softly than these crazy guys. It’s enough for one person to do it.