A guide showing how to disassemble the wheel bearing housing in VW Polo 6R – can be useful especially for people who want to change the poor FS-III brakes for better ones.
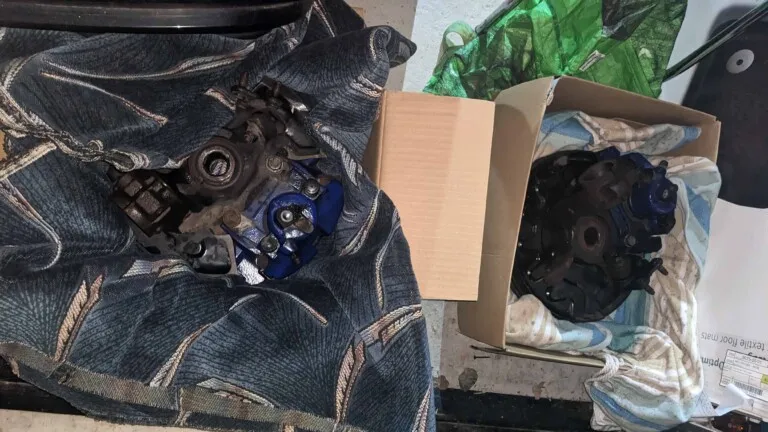
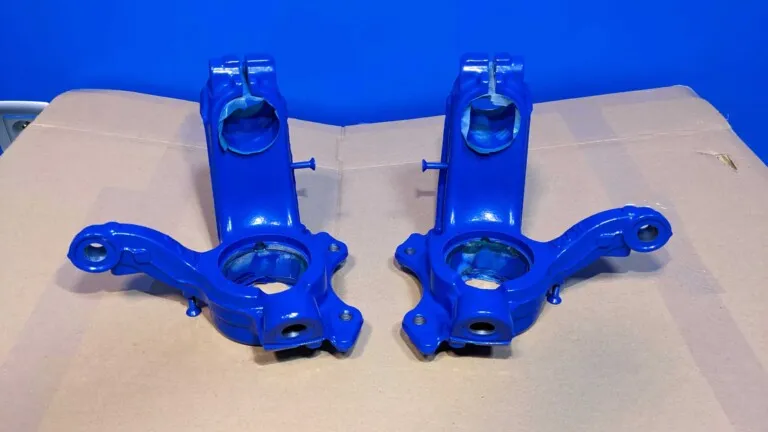
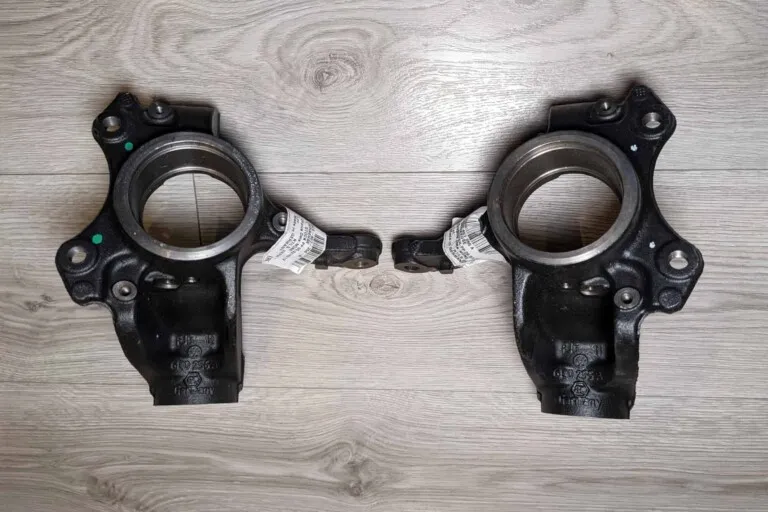
I took off the wheel bearing housings because they were ugly and rusty, so decided to buy new ones and paint them before installation.

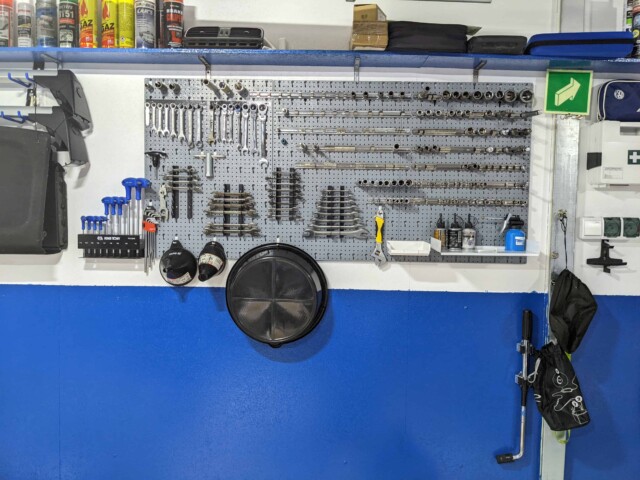
Special tools required
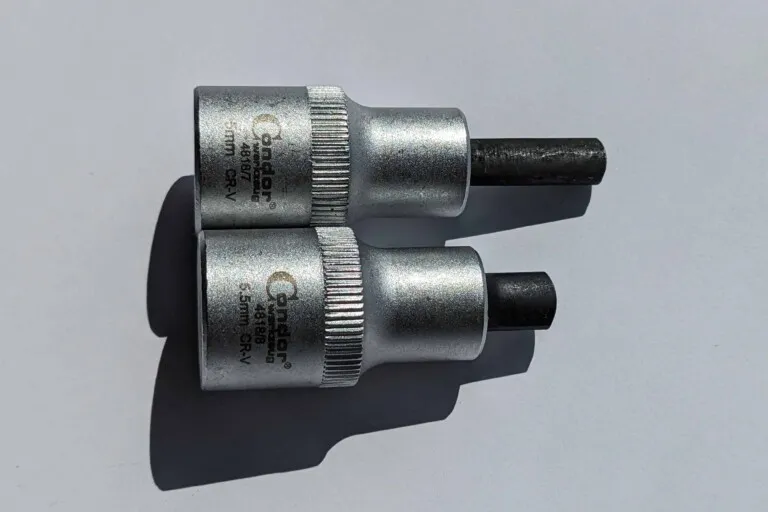
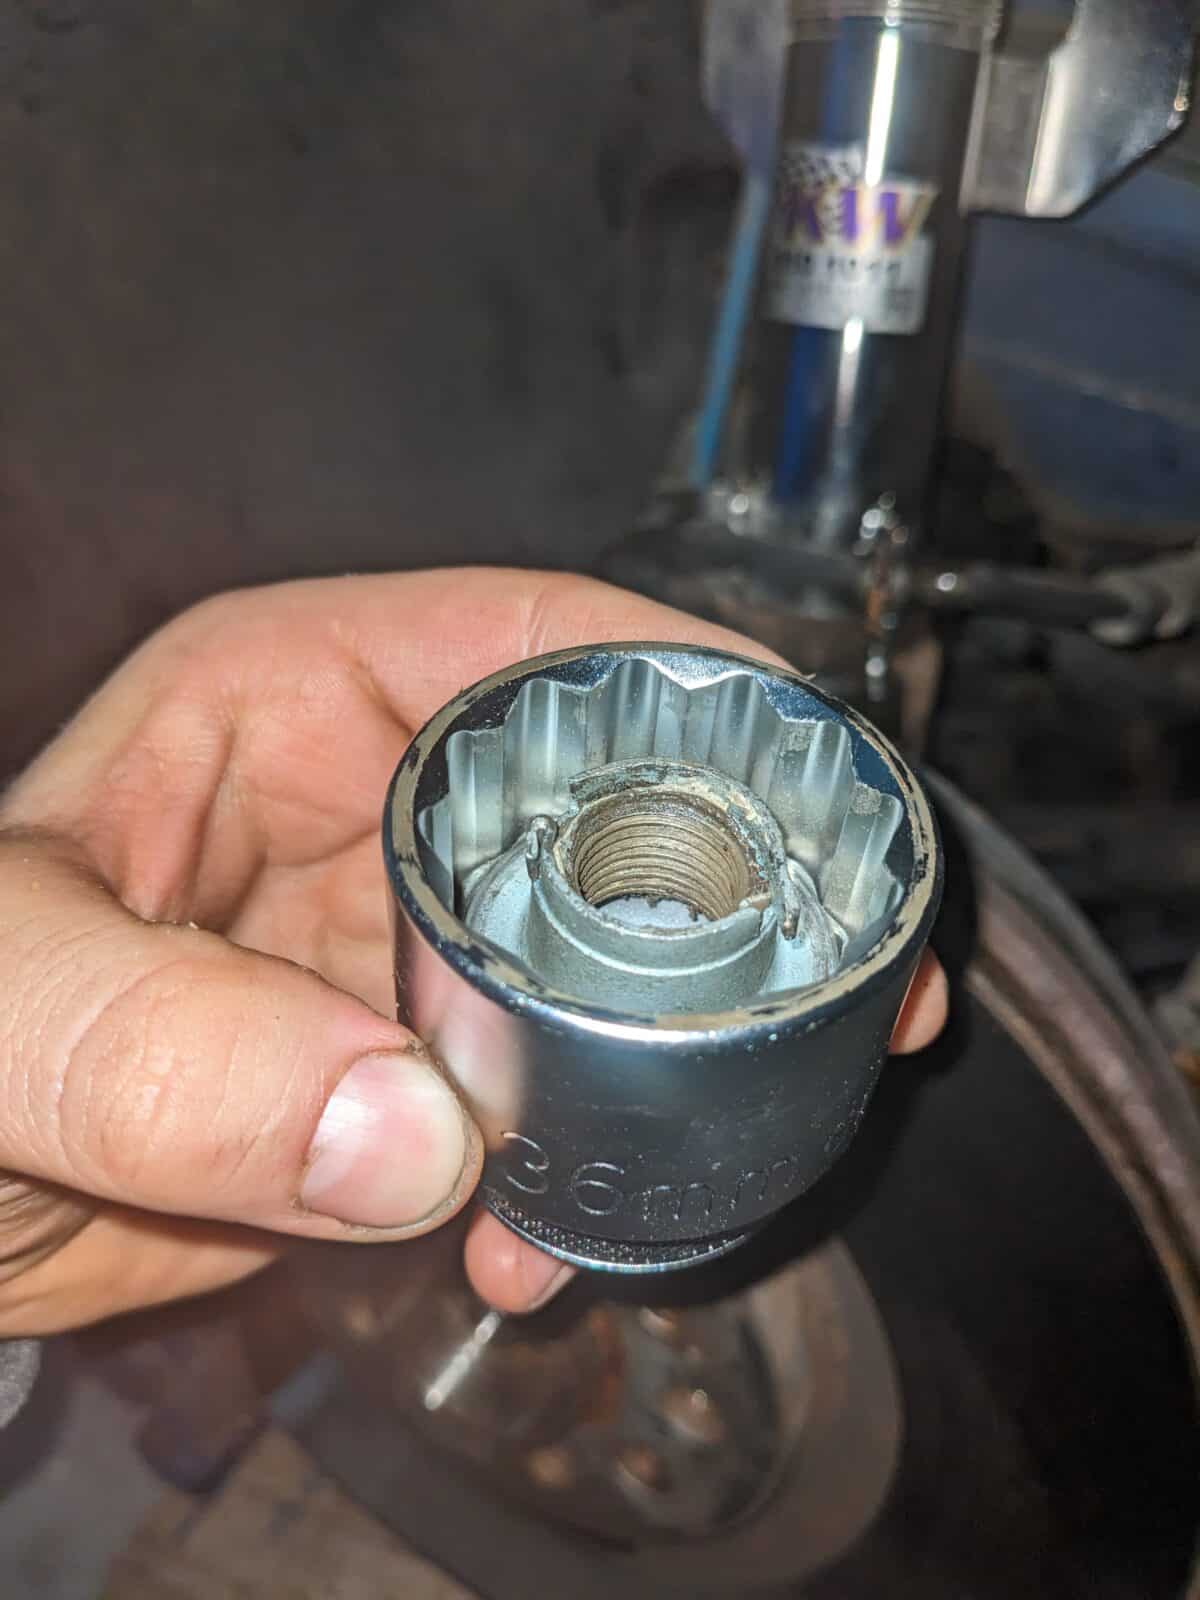
36 mm socket -T10125-


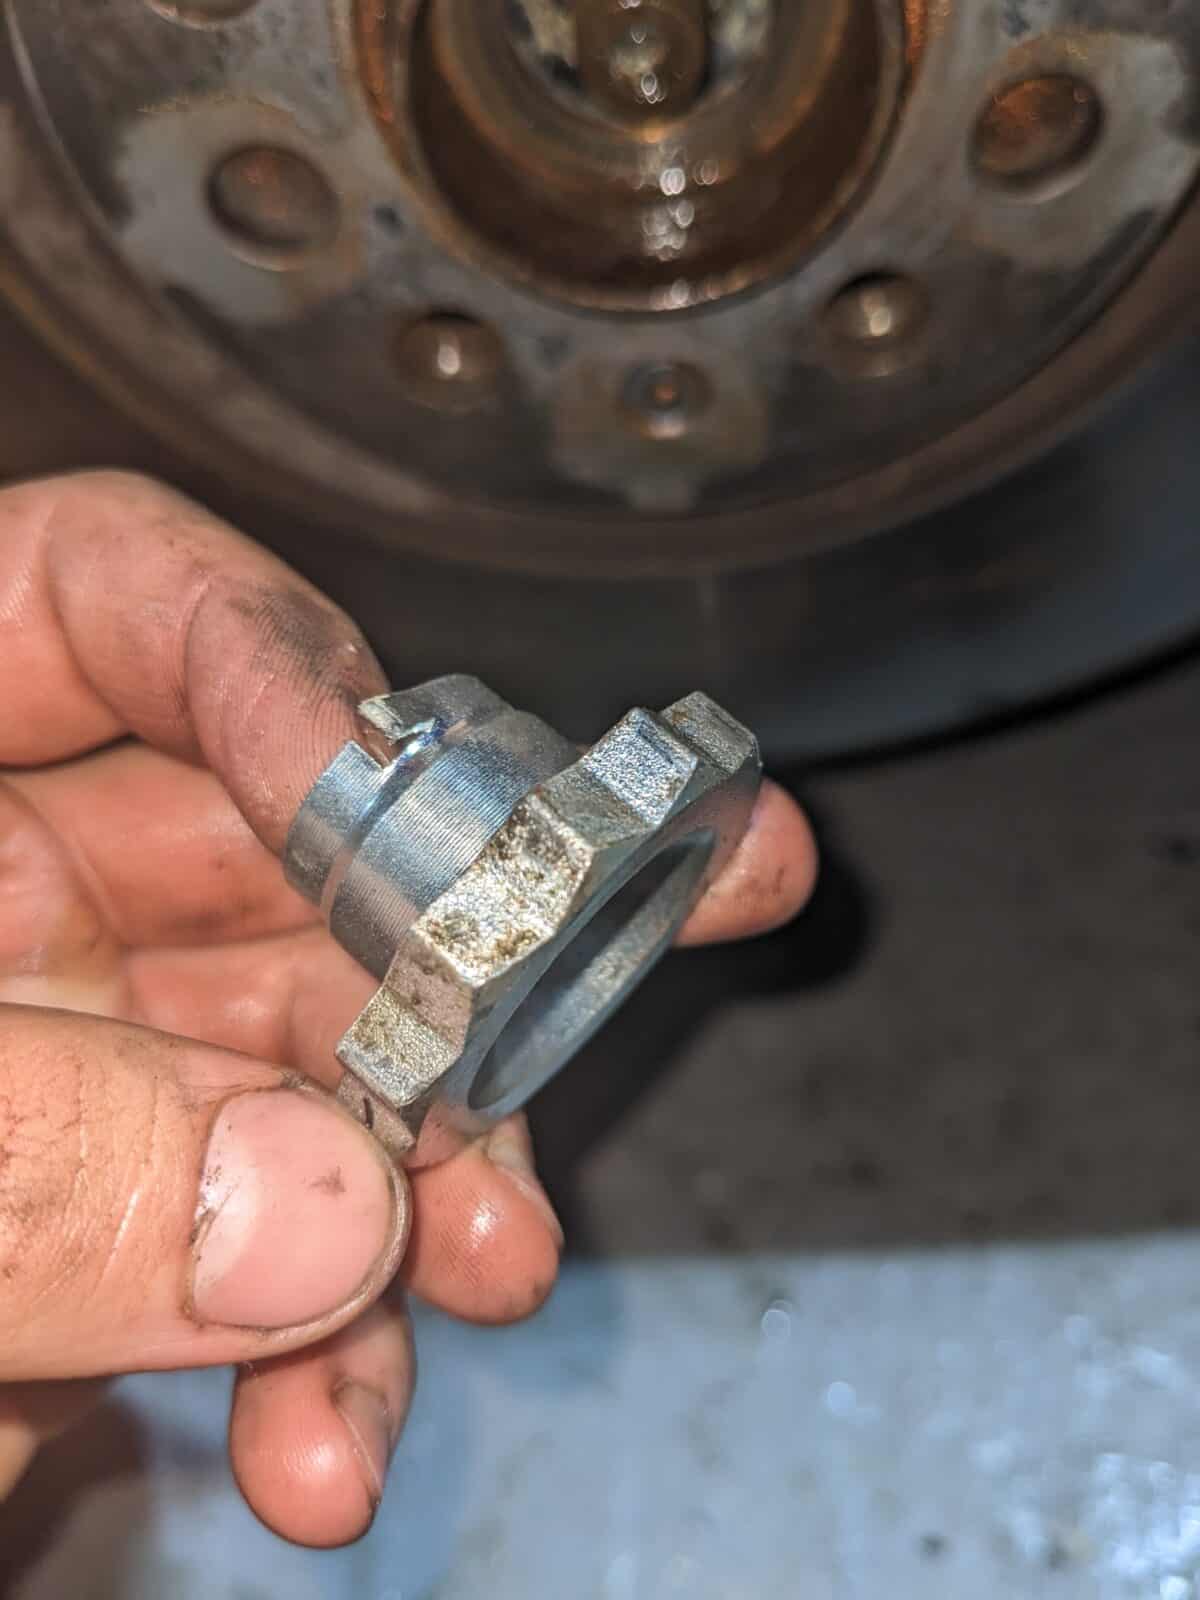
M14 SPLINE


Spreader 3424 – suspension strut spreader socket
It’s tool useful to separate suspension strut from wheel bearing housing.
You can use flat and strong screwdriver instead of this.


16 mm hex socket
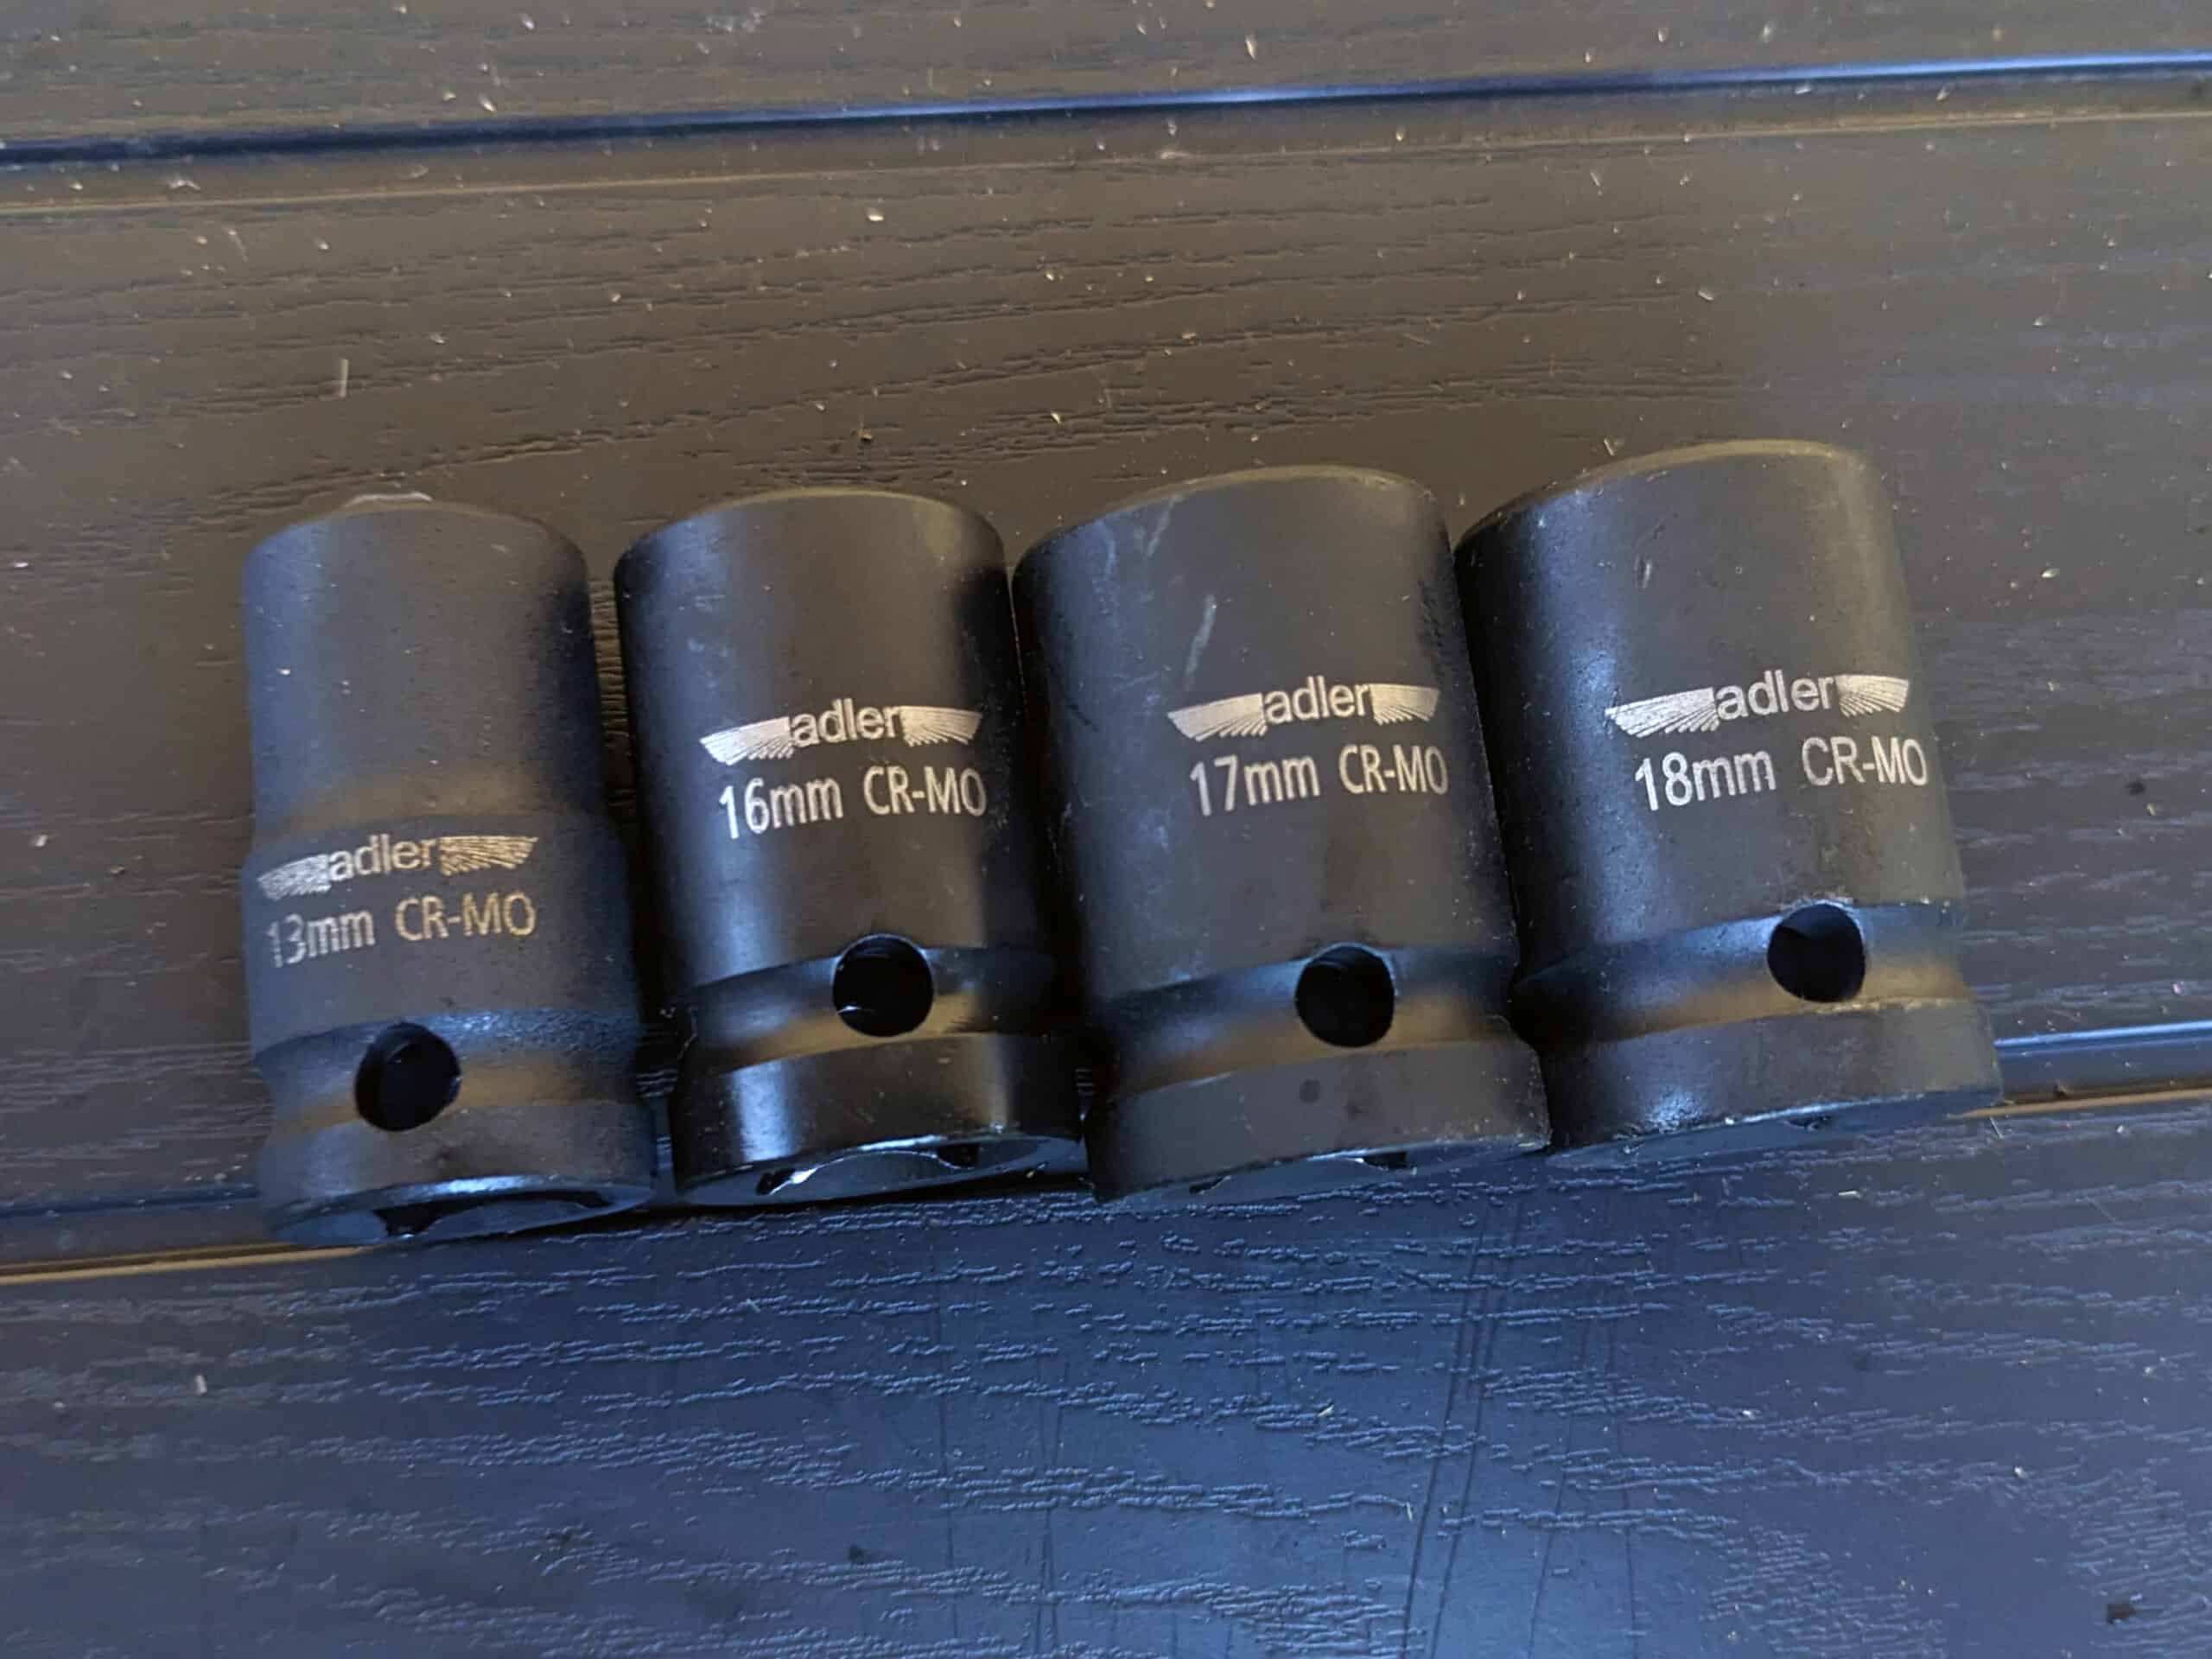
open-end wrench 18 mm

Ball joint puller 3287 A
Generally not needed if you leave a nut on the end of the bolt and tap it lightly with a hammer. The ball joint comes off quite easily on the Polo.


flat screwdriver + hammer

WD-40 or something similar to unscrew rusted bolts

Lets go!
– Lift vehicle far enough to take weight off front axle.
– Remove wheel
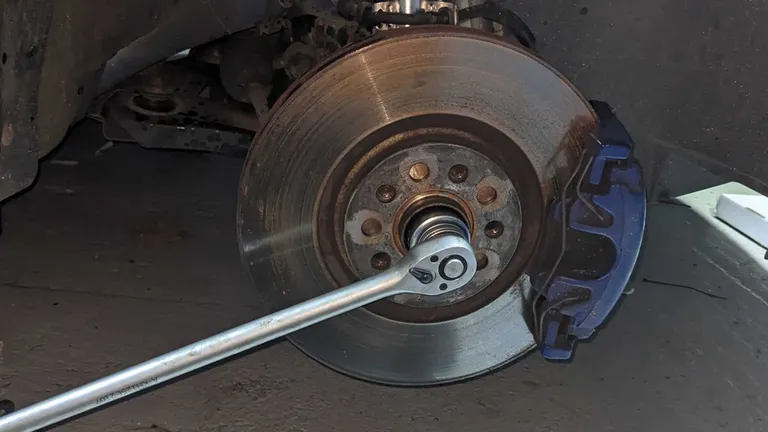
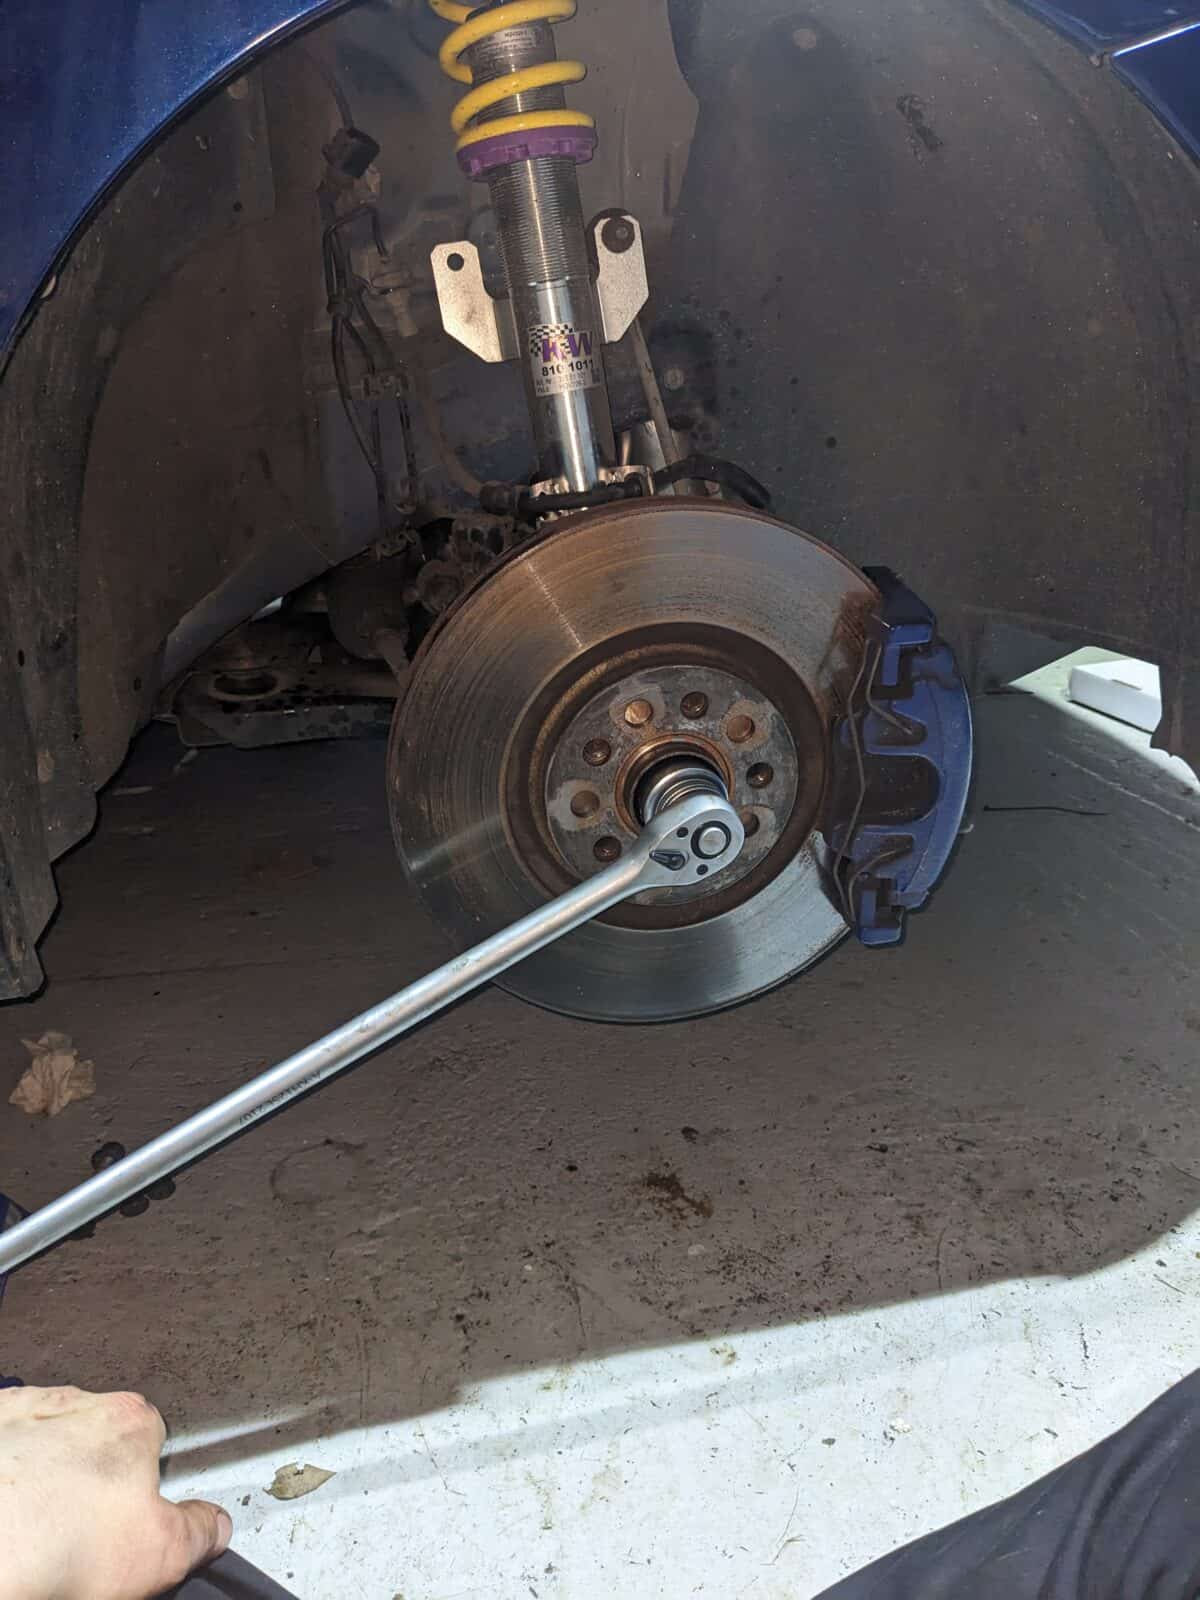
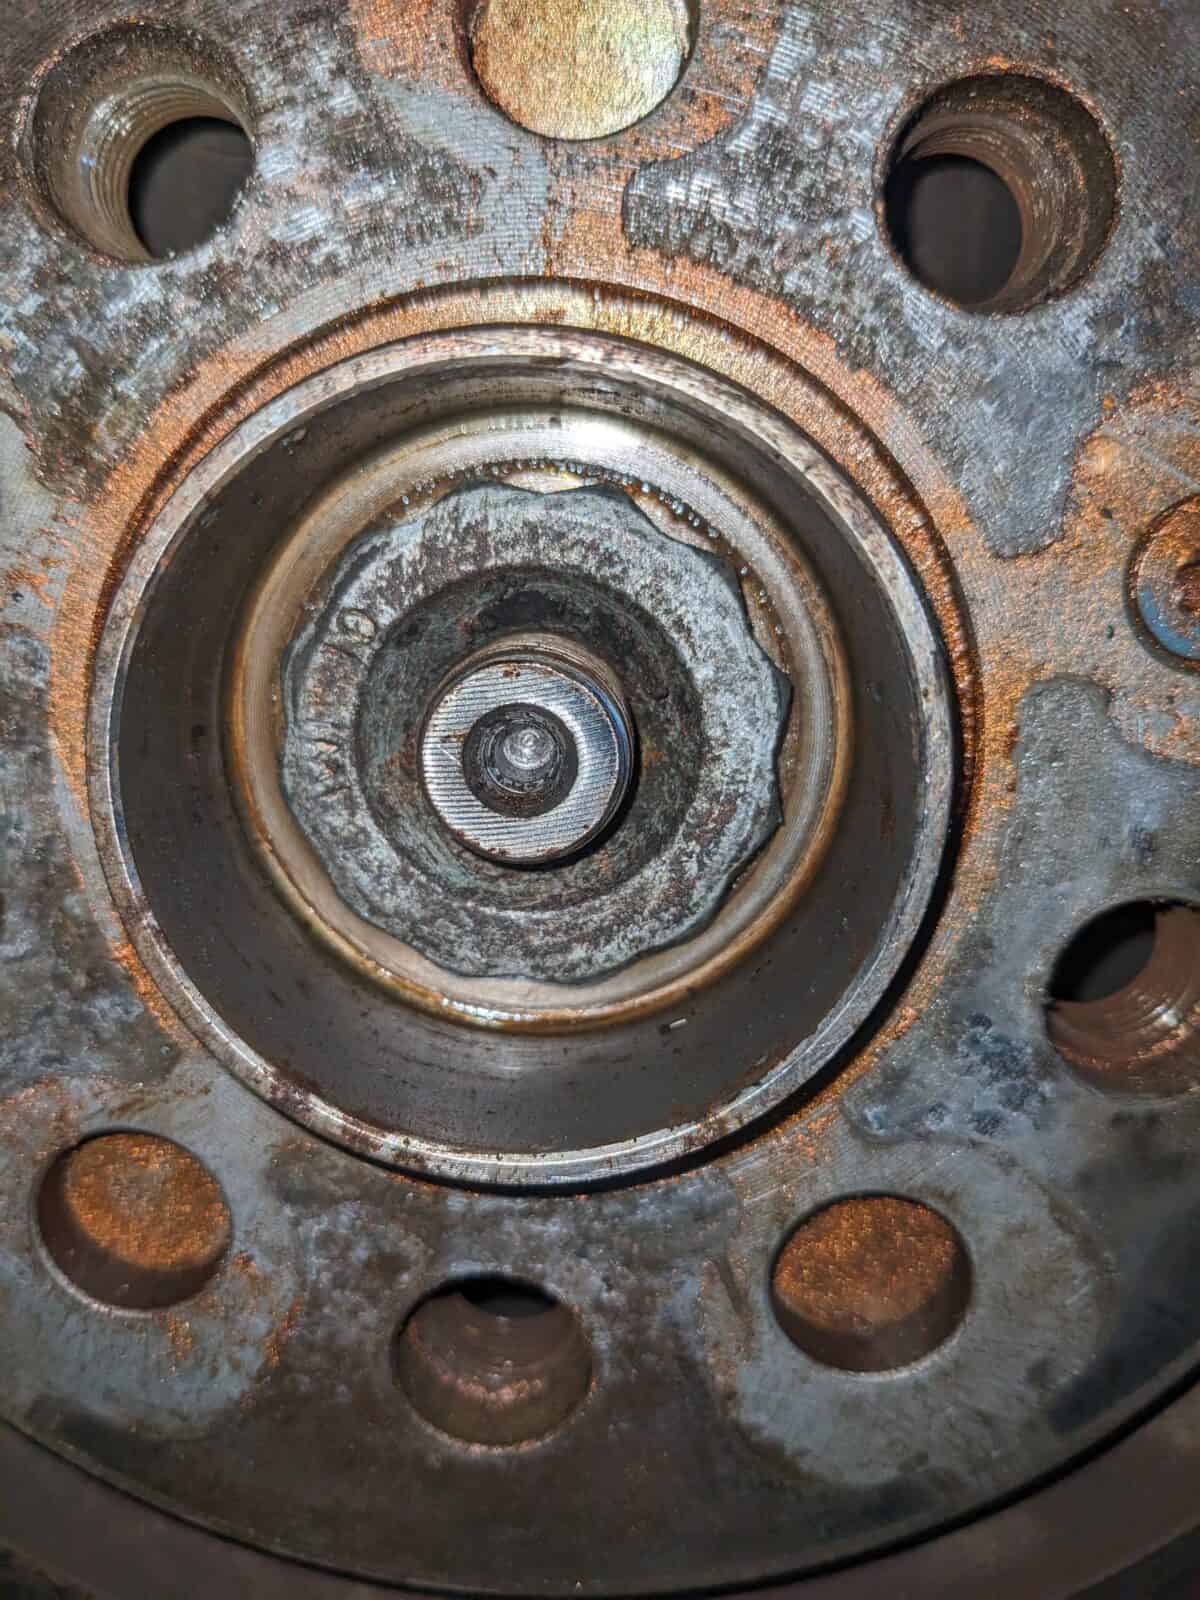
– Undo 12-point drive shaft nut using 36 mm socket -T10125-
Caution
When bolt is loosened or tightened, vehicle must not be standing on its wheels. The wheel bearing can be damaged by the vehicle’s own weight when the bolt is loosened. If vehicle is moved with drive shaft removed, an outer joint must be installed and tightened to 50 Nm.


Loosen nut -1- on track rod end -2- but do not remove completely.
Use an open-end wrench №18. Unscrew the arm fastening from the subframe.
Instead using special tool 3287A you can use a hammer – just leave a nut on the end of the bolt and tap it lightly.


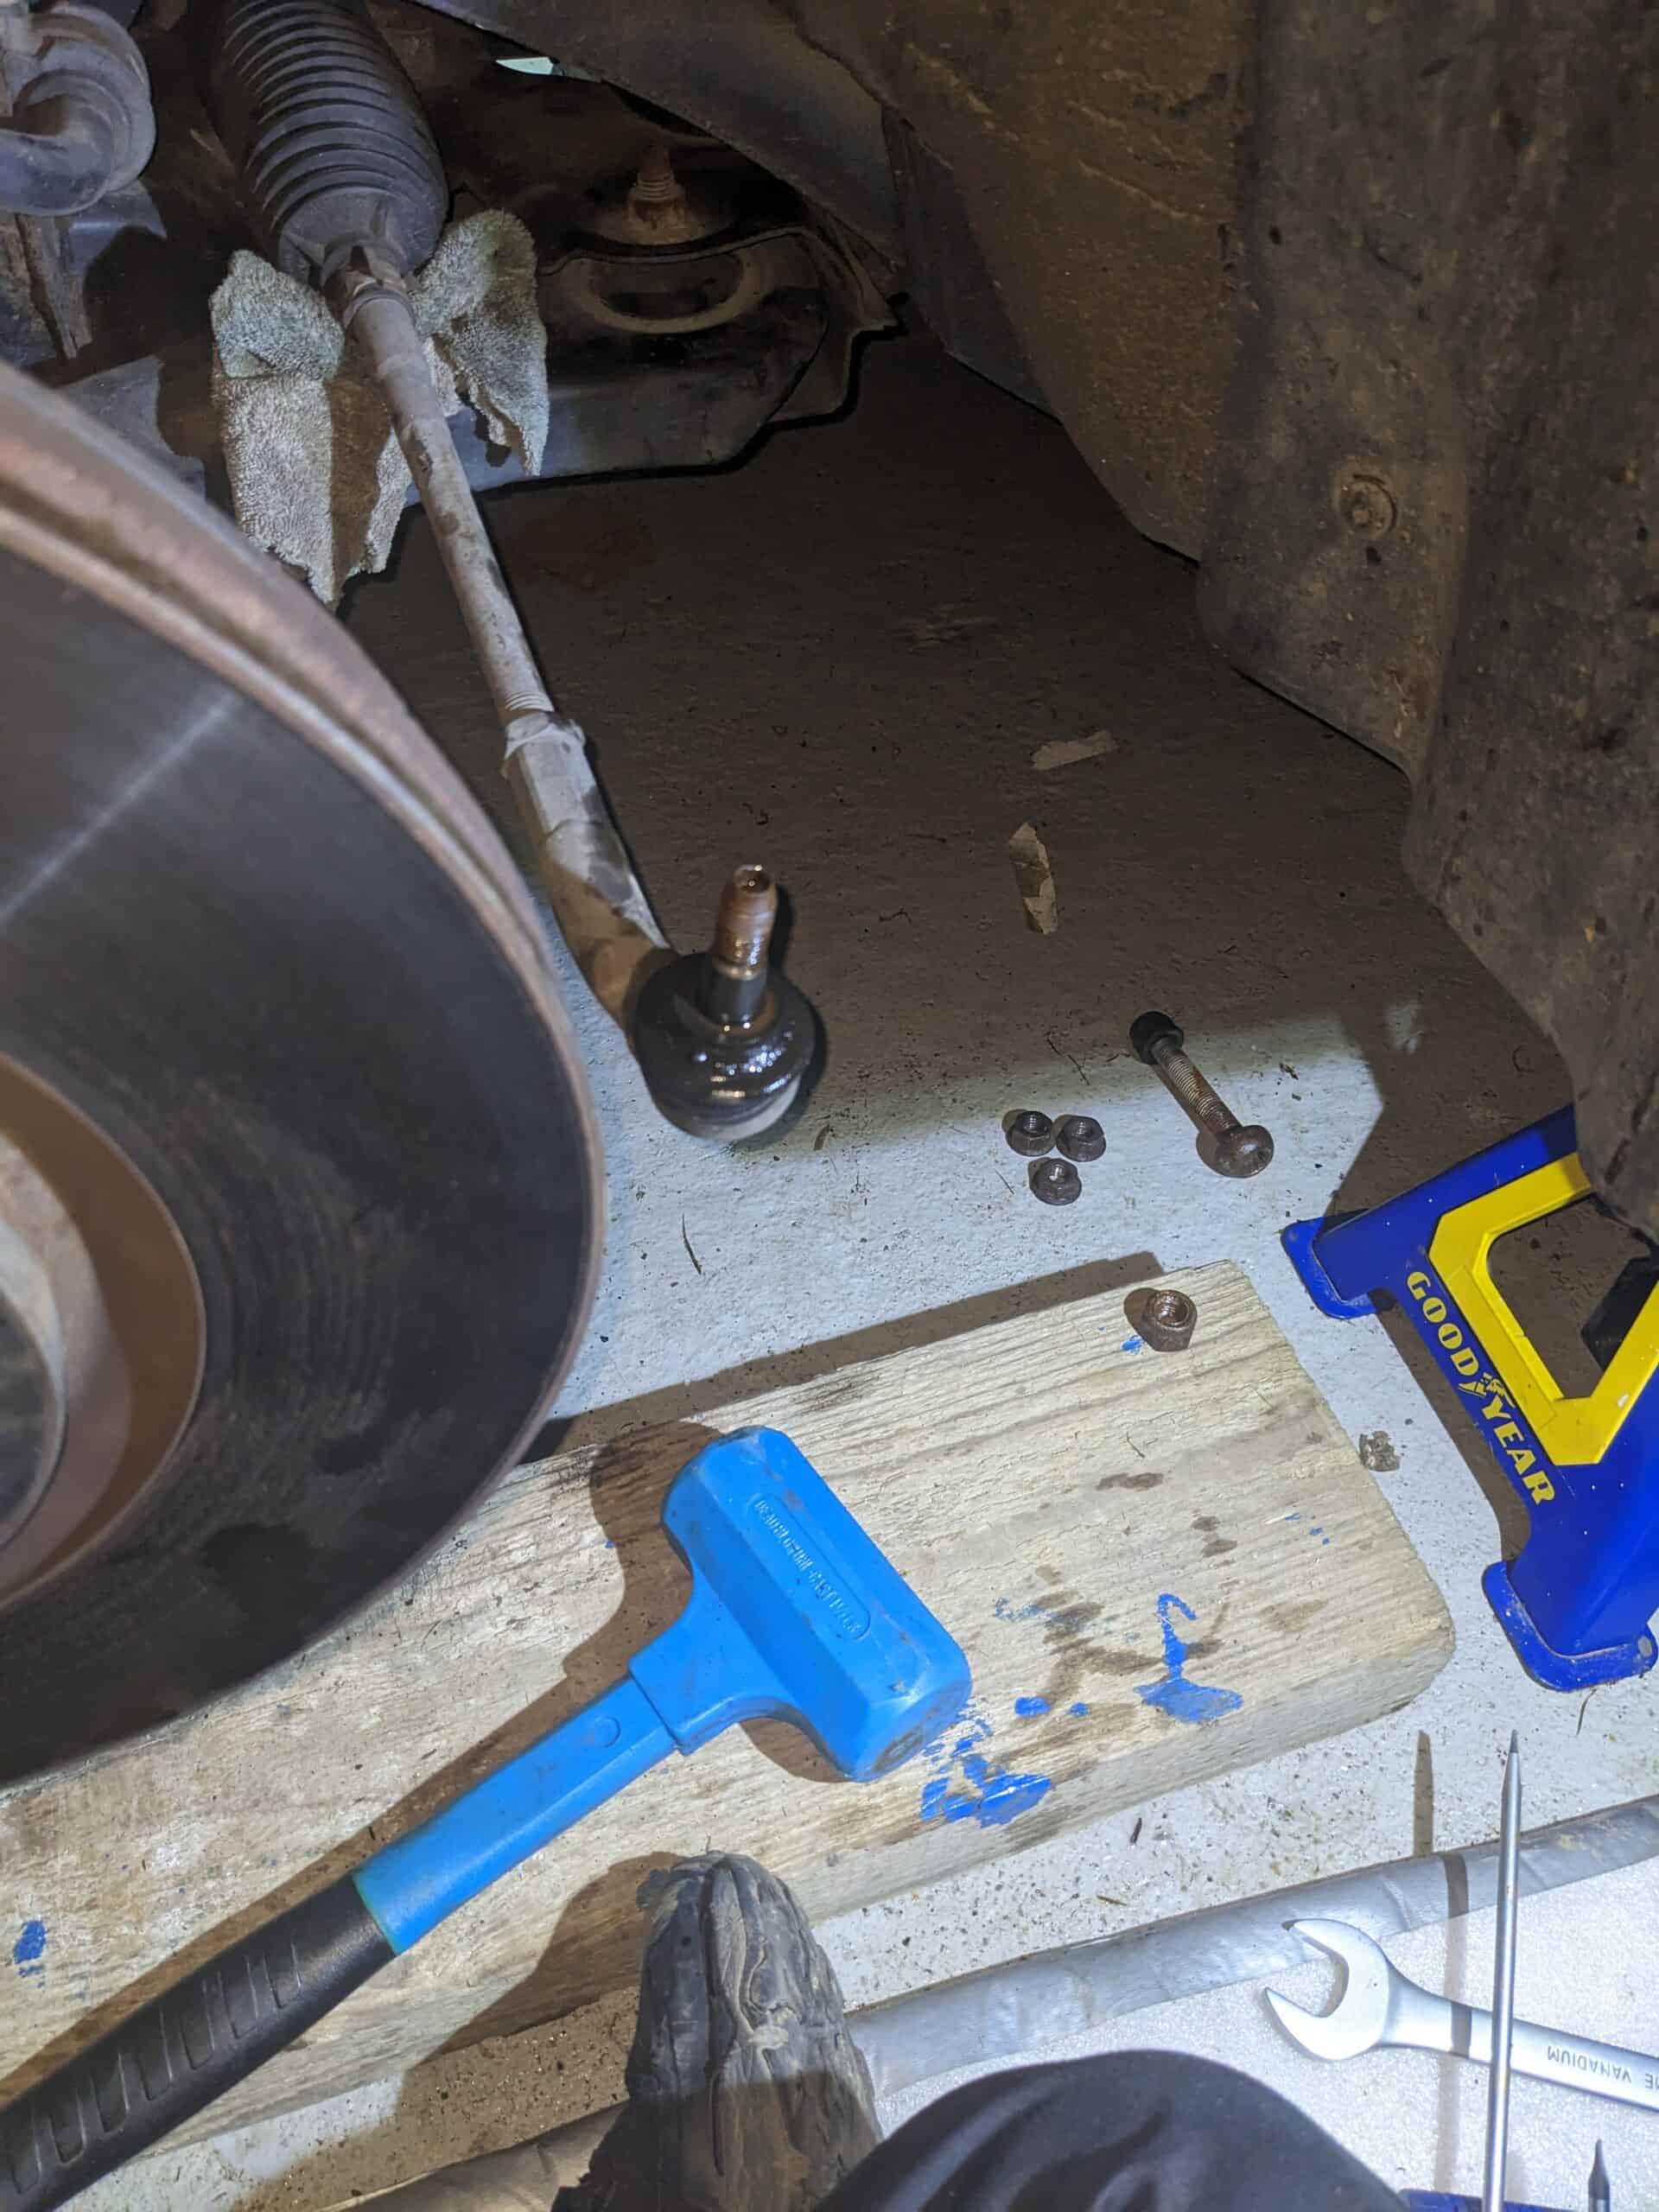
– Remove nuts -arrows-
Nuts part number: N10332002
Use 16 mm hex socket for that.
– Pull swivel joint out of suspension link.
– Pull outer joint of drive shaft out of wheel hub.
– Secure drive shaft to body with wire.
– Now position engine and gearbox jack – V.A.G 1383 A- under wheel bearing housing.
You can use safety stand for that (or carton box, toolbox etc.)


– Remove ABS speed sensor
- Separate connector -1- from speed sensor wire and from speed sensor.
- Remove bolt -2- from wheel bearing housing.
- Pull ABS speed sensor out of wheel bearing housing.


– Remove threaded connection between wheel bearing housing and suspension strut -arrow-.
Use M14 SPLINE for that.


Insert spreader -3424- (or a flathead screwdriver) in slot in wheel bearing housing.
- Turn ratchet handle through 90° and detach from spreader -3424- .
- Pull wheel bearing housing from suspension strut.
If the wheel bearing housing is rusted, use WD-40 and, if necessary, tap it lightly from above to dislodge it from the damper.
Note:
If wheel bearing housing is renewed, swivel joint must be transferred. Always use new nuts.


Installing
Carry out installation in the reverse sequence, noting the following:
Make sure that deflector ring -1- is clipped completely onto outer
joint.
Note:
Deflector ring -1- must align with contact surface of outer joint -arrow-.

During this step, vehicle must not be standing on its wheels or wheel bearing will be damaged.
Specified torques
| Component | Specified torque |
| Suspension strut to wheel bearing housing | 60 Nm + 90° |
| Swivel joint to suspension link | 100 Nm |
| Track rod ball joint to wheel bearing housing | 20 Nm + 90° |
| Drive shaft to hub | 50 Nm + 45° |
Use new nuts and bolts